How AI Decision-Making is Improving Enterprise Outcomes
Blog
Share 
Snowflake Time Travel: How to Leverage it to Achieve Optimal Results
 30 May 2023
  Sumi S
 Benefits of Snowflake Time Travel
With Snowflake Time Travel, you can access historical data, including data that has been altered or deleted, at any given point. This feature is helpful for various tasks, such as:- • Querying data that has been modified or erased in the past
- • Duplicating entire tables, schemas, or databases at or before specific dates
- • Restoring deleted tables, schemas, and databases
How to activate Snowflake Time Travel?
Activating Snowflake Time Travel is a simple process that requires no additional effort. It is automatically activated with a retention period of one day. Nonetheless, upgrading to the Snowflake Enterprise Edition is necessary to customise the Data Retention Period and extend it to 90 days for Databases, Schemas, and Tables. It's important to note that increasing the Data Retention Period results in additional storage usage, reflected in your monthly Storage Fees.
Data Retention Period in Snowflake
In Snowflake, Data Retention Period determine how long historical data is retained to support Time Travel functionality. When data in a table is altered, such as through deletions or updates, Snowflake maintains the previous state of the data so that Time Travel operations (like SELECT, CREATE...CLONE, UNDROP) can be performed on it. By default, all Snowflake accounts have a standard retention period of one day (24 hours).
However, the Retention Period can be adjusted at the account and object level in the Snowflake Standard Edition to 0 (or unset to the default of 1 day) for databases, schemas, and tables.
In the Snowflake Enterprise Edition or higher, the Retention Period can be set to 0 for temporary databases, schemas, tables, and temporary tables. For permanent databases, schemas, and tables, the Retention Time can be configured to any duration between 0 and 90 days.
Functions of Snowflake Time Travel SQL Extensions
Snowflake Time Travel SQL Extensions are special SQL commands that allow users to query historical data from a specific point in time using the Time Travel feature. These extensions enable users to perform various Time Travel operations, including:
- a. CLONE: This command creates a copy of a table, schema, or database at a specific point in time using Time Travel.
- b. UNDROP: This command restores a dropped table, schema, or database to a specific point in time using Time Travel.
- c. HISTORY: This command retrieves the history of changes made to a table, schema, or database over time using Time Travel.
- d. AS OF: This command retrieves data from a table as it appeared at a specific point in time using Time Travel.
Specifying a Custom Data Retention Period for Snowflake Time Travel
To specify a custom Data Retention Period for Snowflake Time Travel, you can use the DATA_RETENTION_TIME IN_DAYS argument in the command when creating a table, schema, or database. By default, the maximum Retention Time in Standard Edition is set to 1 day (i.e. 24 hours), while in Snowflake Enterprise Edition (and higher), it can be set to any value up to 90 days.
The Data Retention Time can be set in the way it has been placed in the example below.
To create a schema with a custom Data Retention Period of 60 days, you can use the following SQL command:
create table mytable(col1 number, col2 date) data_retention_time_in_days=60;
Modify the Data Retention Period for Snowflake Objects
To modify the Data Retention Period of a Snowflake object, any change made to the Retention Period affects both active data and data in Time Travel. Depending on whether the period is increased or decreased, the following impacts occur:
- a. Increasing Retention
- b. Decreasing Retention
Let’s dive deep into more details:
a. Increasing Retention
Snowflake Time Travel preserves the data for a more extended period. For instance, if a Table’s Retention Time is increased from 10 to 20 days, the data set to be deleted after ten days will be retained for an additional ten days before being moved to Fail-Safe. However, data over ten days old and already transferred to Fail-Safe mode is unaffected.
b. Decreasing Retention
The duration of data stored in Time Travel is reduced. The shorter Retention Period applies only to active data updated after the Retention Period is shortened. If the data is still within the new Retention Period, it stays in Time Travel; otherwise, it is placed in Fail-Safe Mode. For instance, if a table with a 10-day Retention Period is reduced to 1 day, data from day 2 through day ten will be transferred to Fail-Safe, and only data from day one will be accessible through Time Travel.
Since the background process moves the data from Snowflake Time Travel to Fail-Safe, it may take some time to see the changes. Although Snowflake guarantees that the data will be transferred, it does not specify when the process will be finished. The data remains accessible via Time Travel until the background process is completed.
To change an object's Retention Period, use ALTER object command, such as the following command for modifying a table's Retention Period:
alter table mytable set data_retention_time_in_days=30;
Snowflake Time Travel Data Query
To query previous versions of data in Snowflake Time Travel, you can use the AT | BEFORE Clause after making any DML actions on a table. This clause allows you to query data at or before a certain point in the table's history throughout the retention period. The specified threshold can be either time-based (e.g., a timestamp or time offset from the present) or a statement ID (e.g., SELECT or INSERT).
For example, to select historical data from a table as of a specific date and time, you can use a query like:
sql
SELECT * FROM my table AT (TIMESTAMP => 'Fri, 05 May 2023 16:20:00 -
If you want to pull data from a table that was last updated a certain number of minutes ago, you can use a query like:
sql
SELECT * FROM my_table AT(OFFSET => -60*5);
And to collect historical data from a table up to a specified statement's modifications, but not including them, you can use a query like:
Sql
SELECT * FROM my_table BEFORE(STATEMENT => '8e5d0ca9-005e-44e6-b858-a8f5b37c57
How to Restore Deleted Objects by Utilising the UNDROP Command?
To restore a deleted object that hasn't been permanently removed from the system (meaning it can still be seen in the "SHOW object type> HISTORY" output), you can use the UNDROP command in conjunction with Snowflake Time Travel. This command can be applied to various objects, such as tables, schemas, and databases. It effectively reverts the thing to its previous state before it was deleted with the DROP command. For example, the UNDROP command can also restore a dropped database.
Summing Up
Snowflake Time Travel’s features can enhance your decision-making process and overall data experience. If you're looking for a Snowflake service provider, Beinex is an excellent option. Our partnership with Snowflake enables us to offer advanced features like automated tuning, elastic compute, and analytics modernisation services to help your organisation realise exponential Returns on Investment.
The Snowflake Time Travel is a fascinating tool that enables users to retrieve data from any previous moment. For instance, if someone accidentally deletes an employee table, they can use Time Travel to go back in time by five minutes (up to 90 days) and recover the deleted data.
Related Articles

Cloud Sovereignty as a Strategic Concern: Addressing from an Enterprise POV
The concept of a sovereign cloud is not novel at all. Due to shifts in the geopolitical landscape and new legislations that have affected data control, it has recently become a hot topic. In a sense, the sovereign cloud offers a clever answer to a global conflict over digital sovereignty. Let’s delve a little further into it
The need for cloud sovereignty has, in turn, initiated the idea of digital sovereignty. This is all about data: who controls it, where it resides, and where it flows to. These inquiries are crucial in the modern data economy, where data is the new currency. Cloud services inevitably receive attention. They serve as the data economy's driving force.
The rules set for data sovereignty have been in place for several years in many nations, and new privacy laws like the General Data Protection Regulation (GDPR) emphasise their importance. For instance, countries like Russia, China, Germany, France, Indonesia, and Vietnam demand that citizen data be kept on servers within the country. The justification is that protecting citizens' personal information from misuse is in their best interests, especially outside a country's jurisdiction.
According to reports, global spending on cloud services is anticipated to reach $1.3 trillion by 2025, representing a growth rate of almost 17% annually. The pandemic's push to move more operations to the cloud to accommodate an increase in the demand for remote work is undoubtedly accelerating this growth.
But lately, cloud sovereignty is under closer scrutiny as enterprises and governments work to reduce their external exposure and maintain control over crucial resources in the light of escalating international conflicts, evolving data protection laws, and the dominance of certain cloud operators.
What can decision-makers do to manage this complex issue? Reports suggest a four-point plan; define, assess, align, and develop: 1. Define: Examine cloud service providers from the perspective of sovereignty, considering data sovereignty (for data residency, controls, transparency, storage, backups, etc.), operational sovereignty (for security, compliance, and operational resilience), and technical sovereignty (to evaluate integration, migration features, and a straightforward exit policy/ process). 2. Assess: Set up your cloud infrastructure to be flexible: choose the most practical of use cases and sensitive workloads; think about crucial management solutions and end-to-end encryption. 3. Align: Analyse hybrid options simultaneously and prepare for a multi-cloud architecture by being aware of its advantages and disadvantages. 4. Develop: Explore the value proposition of sovereign cloud in terms of trust, security, and cooperation through ecosystem engagement to maximise its potential.Data sovereignty in the cloud reveals a complex environment; thus, it is wise for businesses to be informed and compliant. Here are three strategies or approaches for doing this.
1.Focus on the cloudMaybe the answer to data sovereignty is in the cloud itself! Data sovereignty is an essential factor, even while the major cloud providers, such as AWS, Microsoft, and others, credit adoption rates based on customers' focus on price, availability, and flexibility. Most IaaS providers have local data centres, allowing for the fulfilment of the first condition. Additionally, crucial features like encryption and other available security-as-a-service choices enable users to adhere to regional laws.
One critical note of caution: It is crucial that the appropriate enterprise stakeholder comprehends the data protection laws of each country and evaluates and applies the required management tools provided by each supplier to comply with these laws.With the rise of the Chief Data Officer (CDO), the company now has a responsible individual who must make sure the cloud provider has responses to the following questions in the contract:
- Regulations governing privacy compliance being followed
- Optionality for data location and recommendations based on performance, cost, and compliance; and
- Methods for data encryption, key management, backups, and recovery
Businesses should consistently follow even the most burdensome of regulations. Maintaining compliance with the data sovereignty regulations of each region in which an organisation conducts business is a constant problem for organisations with a worldwide presence.
The strongest of these regulations should be applied uniformly throughout all regions, regardless of what other areas require, as this will help to decrease complexity. In this, the cloud can be helpful. Choose a cloud provider that offers these features; often, the more prominent providers and those that concentrate on specific business verticals are the best.
Even the tightest restrictions cannot guarantee data security due to the growing instances of data incursions caused by breaches by third parties, such as partners, contractors, and software libraries.
Governing systems adhering to legal requirements and open to continuous policy modifications are crucial.
3.Use the cloud to implement data governanceAlthough the cloud provider might offer capabilities for data sovereignty, applying and updating policies on top of the tightest laws help limit risk. A thorough data governance strategy ensures adherence, ongoing risk assessment, and risk mitigation are always maintained. To do that, follow these five steps:
Discoverability: Define and control your cloud data. Quality control: Make sure domain and data sharing are followed. Compliance: Update policies on top of stringent regulations to help limit risk. Access: Access to administrators is monitored, automated, and managed; prompt customer, partner, and compliance responses are given. Lifecycle administration: Control the generation, distribution, storage, and deletion of data.Laws and regulations governing data sovereignty are expanding in scope and complexity daily. The use of cloud infrastructure is multiplying, and the data deluge remains unabated. Together, these three provide some significant obstacles. However, businesses can advance and maintain their lead with a small initial investment and continual process implementations.
In the future, the CDO's responsibilities will continue to change and converge with those of the CIO, CISO, chief privacy officer, legal, and other roles. The organisation will be less vulnerable to risks if it can adapt by staying ahead of the data sovereignty regulations and developing robust data governance frameworks for the cloud.
Tableau New Features Unveiled: Tableau 2023.1 Release
[sc name="quote" quote="“As a practitioner, I believe that the major game changer in the latest version, Tableau 2023.1, is Accelerator Data Mapping. With Data Mapping you can jump-start your analytics even faster by reducing the time and effort required to set up an Accelerator’s ready-to-use dashboards. Now, when configuring an Accelerator, the Data Mapper allows users to pull outside data into the Accelerator and map fields from their data source into the fields the Accelerator expects. This will be made possible via the Data Mapping UI - a hybrid dialogue box that opens by default with any Data Mapping enabled Accelerator”" author="Sanchit Katiyar, Solution Architect at Beinex."][/sc]
Let’s catch up with Tableau’s brand-new capabilities:
1. Tableau for Slack EnhancementsThe Tableau app for Slack has been improved to enhance collaboration on insights. These updates make it simpler to prioritize data in every conversation and decision. New features include the ability to share Tableau content with context using link previews, which helps teams quickly identify and act on pertinent information. Additionally, it's now easier to search for and share Tableau content in direct messages and channels. Finally, you can quickly access your recent and favourite items from the App homepage, making it faster to get to insights.
2. Identity Pools for Tableau ServerIdentity Pools provide a way to go beyond the current restriction of having only one identity store on the Tableau Server. An Identity Pool consists of a "Source of Users" (previously known as the Identity Store) and an authentication mechanism. With this feature, you can add more pools where your source of users can belong to a local identity store and authenticate using OpenID Connect for modern authentication. This added flexibility will benefit organizations that have external users who need access to Tableau but cannot be added to their corporate Active Directory.
3. Dynamically Update Axis TitlesParameters are useful for adding interactivity and flexibility to a visualization. They allow viewers to select how they want to view the data. However, previously, it was not possible to automatically update the axis title.
Dynamic axis titles enable the axis title to be determined by the value of a parameter or a single-value field. This feature allows authors to provide better context for their data visualizations to their audience.
If you've found the single identity store limitation of Tableau Server to be limiting, you'll be pleased to know that Identity Pools offer a solution. In the past, there were only two types of identity stores, local and external, and changing the configuration required a complete reinstall of the Tableau Server.
Identity Pools allow you to overcome this limitation by creating additional pools that combine a "Source of Users" (previously known as the Identity Store) and an authentication mechanism. You can now have your source of users belonging to a local identity store and authenticate using OpenID Connect for modern authentication. This added flexibility allows you to support both internal and external users who are not part of the corporate Active Directory.
The new USER ATTRIBUTE (string) function is now available for personalized data access. This function passes login attributes in a calculation, which can be used as a data source filter for row-level security, beyond just username and group, such as department or region. This allows for the customization of a user's data access in embedded scenarios.
With this new function, you can include additional information about users and send it to Tableau when the users sign in. Tableau will automatically use this information as a filter, only showing corresponding data to the user.
When the filter is applied in your workbook or dashboard, Tableau searches for the value of the attribute in the viewing user's authentication token. Using Connected Apps and SSO for embedding users, you can include the attribute as a claim in the JSON Web Token (JWT) used for user authentication.
How Tableau 2023.1 can be Beneficial to the Tableau Users
With the added new features, you can enjoy the advantages enlisted below:- Greater Flexibility and Security for Both Internal and External Users: Tableau Server now offers greater flexibility and security for both internal and external users with the ability to add local identity stores and authenticate using OpenID Connect.
- Efficient Offline Environment Management: With an enhanced activation solution, managing offline environments is a breeze, thanks to the option to leverage login-based license management.
- Reliable Tableau Mobile: Tableau Mobile is now even more secure, due to added security policies that prevent screen sharing and screenshots on Android devices, as well as the detection of jailbreak and malware.
- Connect to Google BigQuery: Connecting to Google BigQuery is now more efficient than ever, be the new JDBC connector that uses BigQuery's Storage API.
- Resource Monitoring Tool: The tool, which is a component of Tableau Advanced Management, now comes with enhanced features that make logging in easier and allow for more customization options:
- Network Credentials Support: Users can now use their network credentials to log into the Resource Monitoring Tool instead of using a distinct username and password.
- Customizable Run As users: With this new feature, you can set up Run As users for the Resource Monitoring Tool Server and Agent on Linux operating systems to comply with your security policies and apply best practices.
- Tableau Data Management now offers enhanced features that enhance data reliability and flexibility for virtual connections:
- Data Warnings: Data quality warnings are now available in both web authoring and Data Details to help improve data trust. Users can receive warnings about data quality at the column level.
- Flexible Connectivity: With the latest update, users can choose to use either a live or extract connection for each table within a virtual connection. This allows them to refresh the data as needed to suit their needs.
Are you as excited as we are about these amazing new features? If so, be sure to get started with Tableau 2023.1 today!
About Beinex+ Tableau Partnership
As a quick, versatile, and easy-to-use self-service platform tailored to your organisational needs, Tableau streamlines the power of data. It enables users to make decisions more quickly and with greater confidence from anywhere, anytime.
As a premium partner, Beinex offers the best of Tableau services to grow your business. Our partnership with Tableau has unveiled several seamless possibilities for businesses. Tableau, with its user-friendliness, makes Data Analysis and Visualization an enjoyable, interesting and rewarding process.

Tableau with AWS: Business Intelligence and Data Analysis of a Higher Order
The cloud-based approach delivers:
1. Better performance2. More flexibility
3. Enhanced cost savings
4. Improved security
5. Facilitates excellent teamwork opportunities
Specifically, Tableau on AWS lets you process data more quickly and scale up or down resources as needed. Plus, you can access a range of AWS services to optimise your Tableau setup. AWS also provides tools to help you save money and a secure environment to protect against cyber threats and data breaches. Ultimately, Tableau on AWS enables teams to collaborate more efficiently, taking their data analysis and business intelligence to the next level.
There are several other benefits to using Tableau on AWS beyond scalability, cost, and security. Here are some additional insights:
1. Faster Deployment: With Tableau on AWS, you can deploy new instances of Tableau in minutes rather than days or weeks as you would with on-premises infrastructure. This is because AWS has pre-configured templates for Tableau that make it easy to spin up new instances quickly. 2. Better Performance: Tableau on AWS is designed to exploit AWS's high-performance infrastructure. Tableau runs faster and more efficiently on AWS than on traditional on-premises infrastructure. 3. Integration with Other AWS Services: Tableau on AWS integrates seamlessly with other AWS services, such as Amazon S3 for data storage, Amazon Redshift for data warehousing, and Amazon EMR for big data processing. This makes building a complete analytics solution easier by using Tableau and other AWS services. 4. Improved Disaster Recovery: With Tableau on AWS, disaster recovery is built. AWS provides automated backup and recovery services to quickly recover your Tableau environment and data if there is a disaster or outage. 5. Global Reach: AWS has data centres worldwide, meaning you can deploy Tableau in the region closest to your users for better performance. This is especially important for organisations with a global presence.Overall, Tableau on AWS offers several advantages over on-premises infrastructure. By leveraging AWS's scalability, cost-effectiveness, and security, organisations can run Tableau more efficiently and with better performance. Additionally, AWS's integration with other services and global reach make it an attractive option for organisations looking to build a comprehensive analytics solution.
Tableau Server on AWS deployment options
The following list outlines the available options for deploying Tableau Server on AWS:
1. Self-Deployment on EC2 Instance: This option involves users provisioning and configuring an EC2 instance and deploying Tableau Server. This provides the most significant control over the deployment process and can be customised to specific needs. However, it also requires more expertise and effort from the user.
2. Quick Start Deployment: The Tableau Server on AWS Quick Start provides an automated deployment process using AWS CloudFormation templates. This simplifies the deployment process and ensures that best practices are followed. However, it may be less customisable than self-deployment.
3. AWS Marketplace Deployment: Tableau Server is also available on the AWS Marketplace with pre-built AWS CloudFormation templates. This provides a quick and easy way to deploy Tableau Server, with different pricing and instance options public. However, users may have less control over the deployment process than over self-deployment.
Users should evaluate their specific needs and expertise when selecting a deployment option. Self-deployment provides the most significant control and customisation, while Quick Start and AWS Marketplace deployment offer simplified and quick deployment options.

AI Agents Explained: How They Work, Types, Architecture & Use Cases in the UAE
AI agents are software systems that perceive their environment, reason over available data, and take action toward a goal with limited human input. Adoption is no longer experimental: AI agents are moving rapidly from experimentation into production, with enterprises increasingly deploying them in defined operational workflows. The global AI agents market is estimated at approximately $10.9 billion in 2026, up from the previous year. In the Middle East, the shift is even sharper: Microsoft's Q1 2026 Global AI Diffusion Report ranks the UAE first globally, with 70.1% of the working-age population using generative AI. This blog breaks down what an AI agent actually is, how its architecture functions, and where AI agent development services in UAE businesses are creating measurable value.

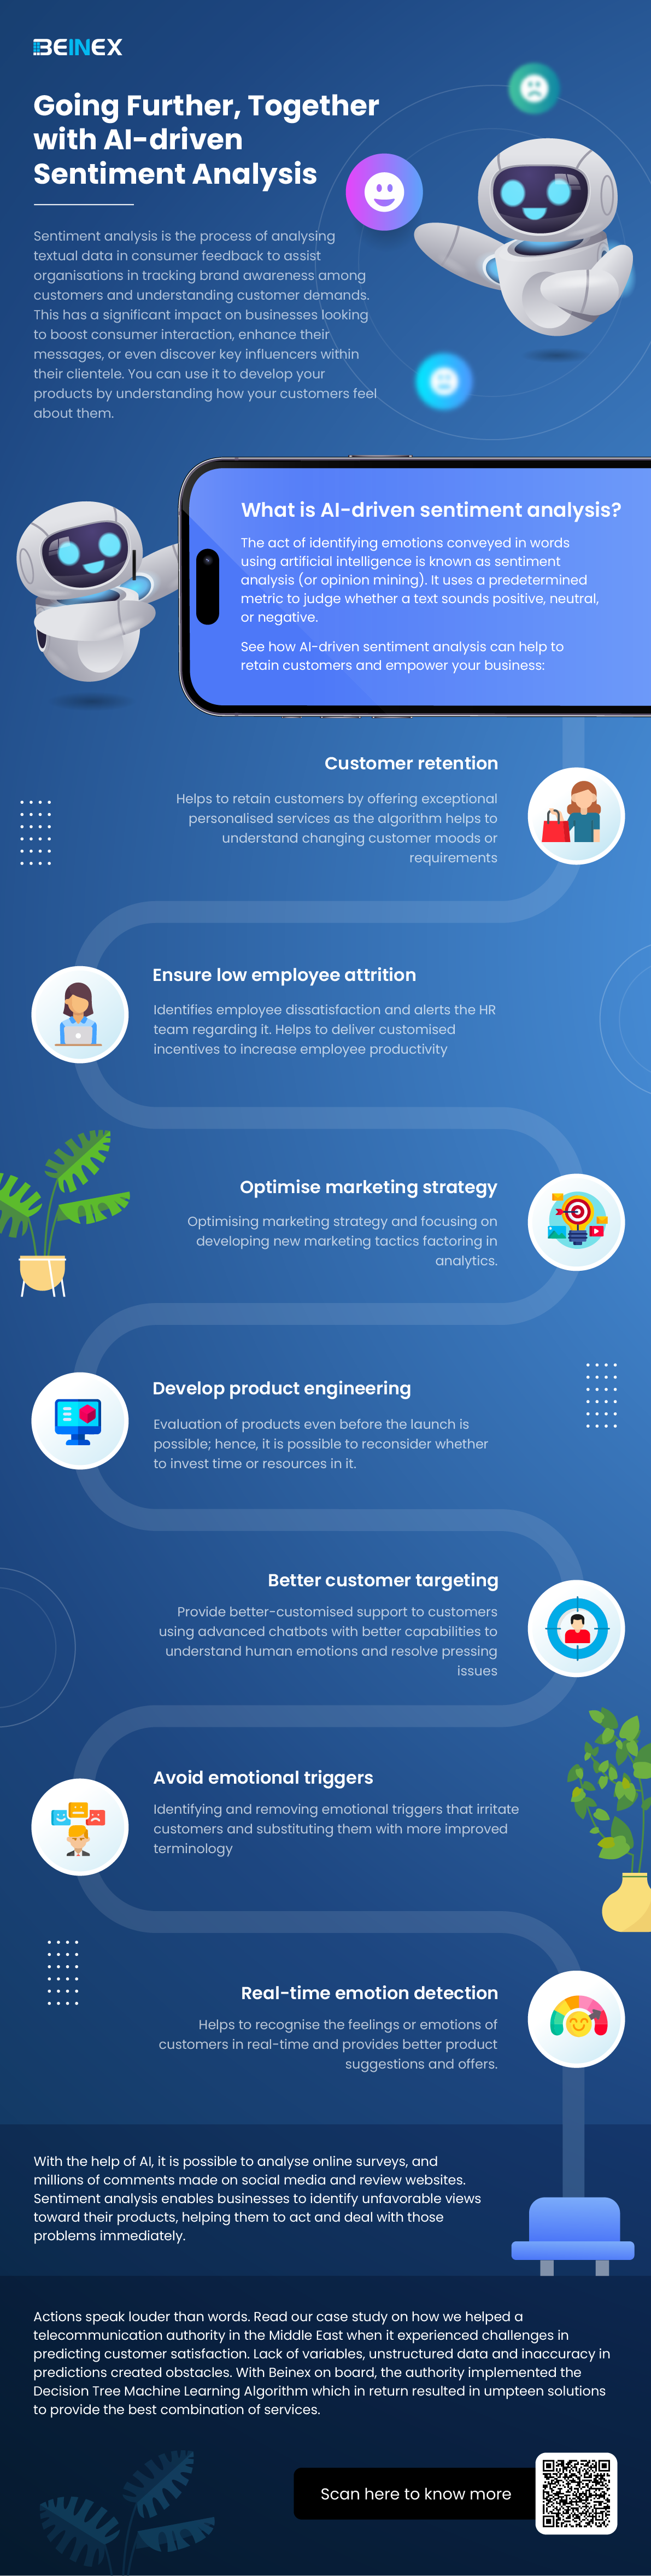
Going Further, Together with AI-driven Sentiment Analysis (Infographics)